Tuesday, March 29, 2011

Finally Finished!!

I've finally finished the piece of furniture I gave you a before shot of last month. It has gone from "drab to fab!" I love the way it came out! I've wanted a coat closet so badly and a way to have great storage right by the door for mail, keys, kids' shoes/bags, and all those miscellanous objects that clutter! So here is my solution...


So a little history behind this piece: Ross and I rescued it off the side of the road! The original piece had drawers on the left side that were all busted up along with a cracked leg. Although he was skeptical, I saw the potential! I've always wanted to find junk and turn it into treasure! So my dad helped in fixing the leg and made the shelves for the baskets and we turned it into this great storage piece for our entryway.

I don't have step-by-step pictures of the painting process, but basically I painted Sherwin Williams "Caribbean Coral" (same wall color in by guest bathroom) first, then painted "Pacer White" (same color as our interior trim color) over that. I then took my handy-dandy sander and roughed up the whole piece, sanding harder in some spots than others so that the original color would come out. Here are a couple upclose pictures of the edges:


I found the baskets at Bed, Bath, and Beyond on clearance. They were orignally $17 a piece but were on sale for $10. I had 20% coupons for each basket so was able to get them for about $8/ea! They started out like this:


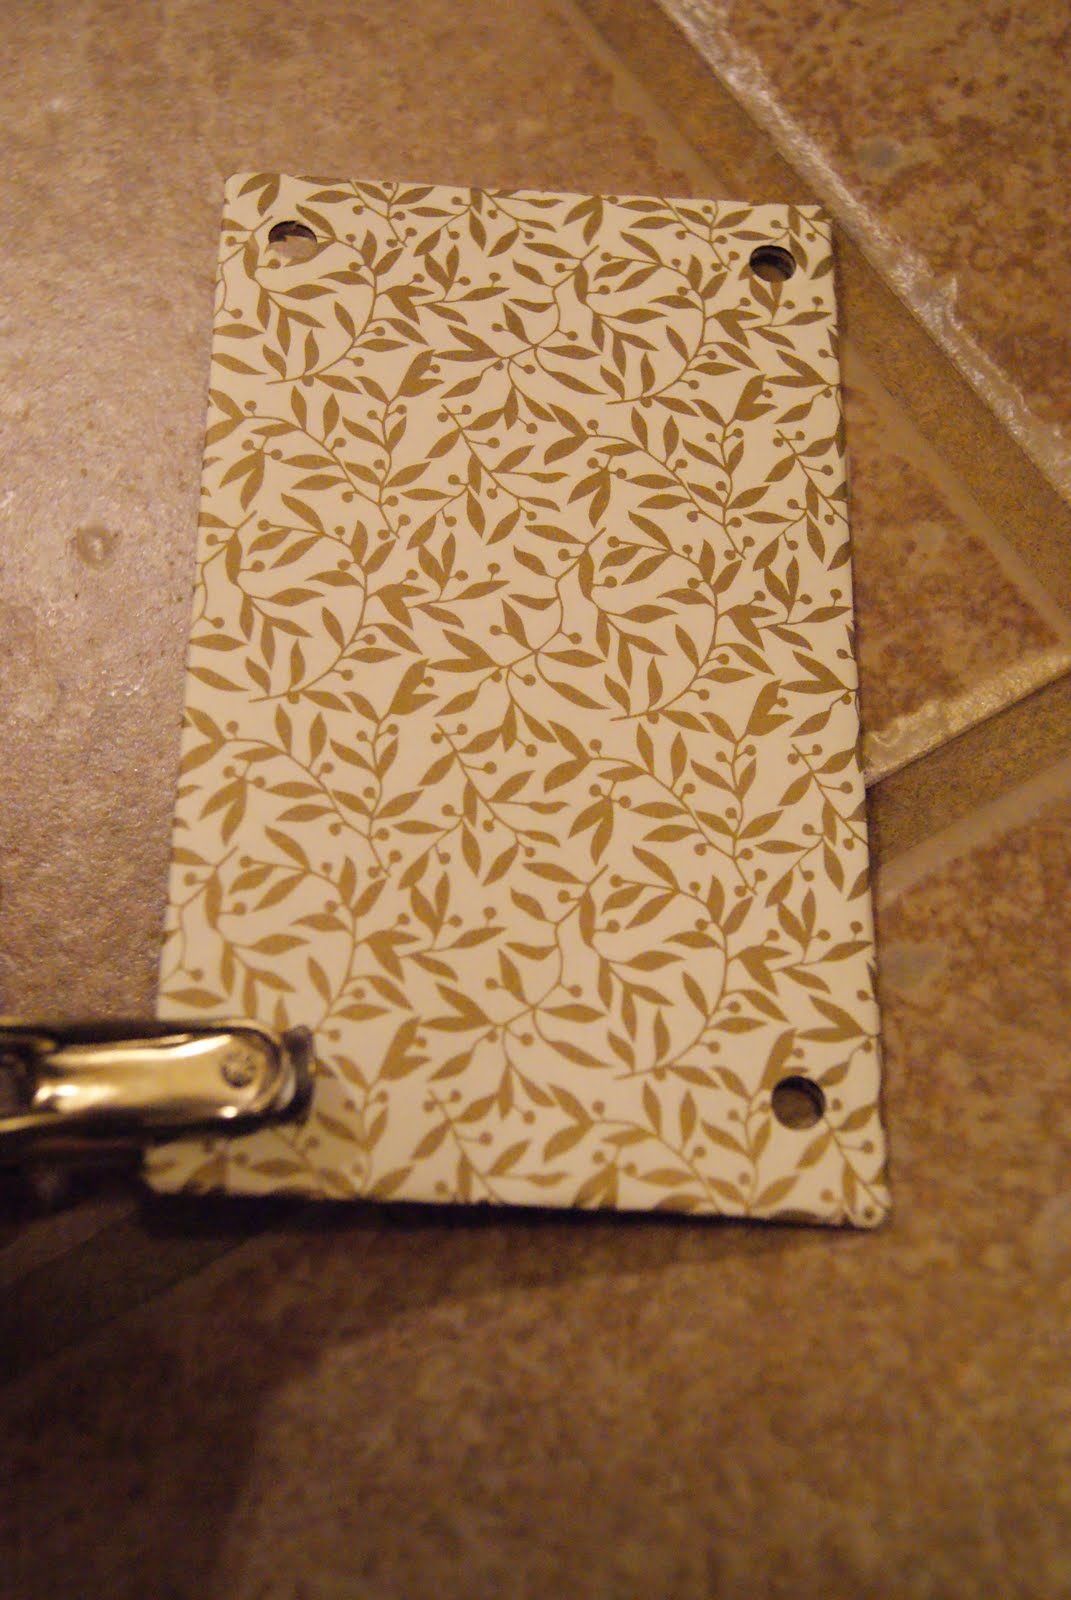
But I then decided they weren't as impactful as I wanted. So I found chalkboard labels from this store on Etsy and made the little cards to attach them to. I then personalized each label with our names. Here is an upclose shot and a little mini picture tutorial on how to make the label cards:


To the inside of the wardrobe, I added a door mat cut-to-size on the bottom to allow for shoe storage if needed. I also added cork squares (using the adhesive squares that come with them) to the inside of the door to have a place to hold invitations, announcements, etc. I used twine and pushpins to make the diamond pattern to hold the cards.


A few personal items accessorize the top:


And a nice knob for the door (found at Hobby Lobby) to finish it off:


Not bad for a old dresser/wardrobe picked up off the side of the road! Let me know whatcha think and how you have added storage in your home!

I have so many more projects that I've started or are swirling around in my head so stick with me! The posts are few and far between right now, but eventually I'll get back to posting more often! Two little ones are kinda keeping my attention right now, and that's just how it should be!:)

Tuesday, February 15, 2011

In The Works...

Can't wait to tell you the story of this piece and show you what I'm turning it into!


Stay tuned...;)

Friday, January 14, 2011

Bedroom: Nursery Turned Big Boy

Finally a post showing you Luke's new updated room! For now, you will see the room in its entirety, but at some point I will post how-to's on some of the projects. Enjoy the tour and Mia's nursery will be posted next!

Before--originally a nursery (these were the original pictures of the nursery, I changed it up and brought other furniture in since I took these pictures, but it at least gives you an idea of the original walls and colors):


After--now, a big boy room:


Every room needs an inspiration. This summer outfit of Luke's was mine! I was trying to decide on colors for his room and I thought the red, blue, and gray would be perfect---seeing it all together in this outfit, inspired me!:) So now it is hanging on the wall to the left when you enter the room. Also there is his handprint at 1 year old and a basket storage unit. Storage is key in a kid's room and this is one of many places I have his toys. I'm still considering painting the baskets, but another project for another time...


I switched out his original chair (which is now in Mia's room) for this smaller rocker chair. It was originally a salmon-pink but I just used this blue sheet (I got for about $5 at Wal-Mart) to cover it. I'm still trying to figure out how to secure the sheet and make it look neater, but this is the temporary fix at least.


And here is the new window treatment. I found the darkening curtain on clearance for $8 at Home Goods and the cornice is actually made out of foam board, not wood! So inexpensive and easy! I'll have a how-to post on this to come.


Continuing around the room you see the customized wall vinyl I had made through this company. Jodi's vinyls are very reasonable priced and she is so easy to work with and completely customized both his and Mia's names to just how I wanted them. I will have a how-to on this project too, because I ended up framing out a piece of sheet-rock to stick the vinyl on, so that I could take these with us whenever we move.


Here is the corner shelf above the bed. I used fabric scraps in the back of the shelf, repainted his name letters, and painted these wooden trains I found at Hobby Lobby.


And this bulletin board is on the wall you see as you enter. I had the molding already up and just bought a piece of corkboard from Hobby Lobby to fit into it. Trimmed it out with the red trim and put the foam trains in the corner. This will be a great place to hang Luke's original artpieces!:) And the small canvas pieces hanging below it are my original artpieces! Just painted railroad signs I found on the internet with the colors used on his walls.


Upclose of the stripes. Just painted over the original blue and green with red and a darker blue; also added gray.


Here's an upclose of the bed pillows. I made all of these, either by recovering an existing pillow or making a case and stuffing it. The comforter I found at Wal-Mart for about $20 and the platform bed frame was made by Ross and my dad!


Here's an upclose picture of the bed frame with the much needed storage drawers! Dad designed these to be deep and long so that all Luke's puzzles, blocks, balls, etc. could fit.


Switched out the long dresser with changing pad (took that to Mia's room) for this chest of drawers with cabinet storage. This was the other piece of furniture in the set with the original dresser that I got from my grandparents. Painted and distressed it to match and switched out the knobs.


Here's the last wall. Ross spray-painted the bookshelf for me with in a glossy red (was originally blonde wood and then cream/green distressed to match the nursery). The canvas bins on the bottom shelf are from the dollar store and are perfect for toy storage. The 3 shelves were sprayed glossy gray. Two shelves I had and the other one I found at the thrift store for $2. The decor on them is still being changed around, so I'll post an updated picture when I have it.


One last pic with a satisfied customer!:)

Friday, November 19, 2010

I Really Haven't Fallen Off the Face of the Earth...Just Had a Baby!

This blog will be up and running eventually. Thanks for hanging in there with me! I actually do have several projects to post about, including the long-awaited post of Luke's and Mia's newly decorated rooms. It will be posted as soon as I can get it written!

Post from our family blog:

So for all of you who are sticking around with me, I will get back to the blog world eventually. I'm in them middle of writing Mia's birth story (which will be my next post) and believe me, it's going to be a long one!

Thanks for your continued prayers and support. We are adjusting well to life with two little ones; it's tough and tiring, but so worth it! Today is Mia's due date and she'll be 4 weeks old on Tuesday. I CANNOT BELIEVE that she is already 1 month old!

Luke had a wonderful 2 year old birthday and party (pictures and post to come). He is the sweetest big brother and is adjusting well to his new life of not being the only one.

Stick with me! There are many exciting updates to come!

Sunday, October 17, 2010

Project Rewind: DIY Day: Office Nook

Originally posted: October 26, 2009

Our house has three bedrooms; master bedroom (which you recently saw re-vamped), Luke's room, and what has been the office/storage room. Well, I decided (especially after Luke's 1st birthday) to make the office/storage room a playroom for Luke, which leaves me needing some place to write bills, store pens, paper, tape, etc. So, I ended up making the end of the hall in between Luke's room and playroom, a little office nook. The end of the hall started out as just that; a plain, dark end of the hall. The inspiration for this project is Rhoda's office space seen here. Here's how mine turned out...
Before: The wall as the same color as the other walls; antique piece of furniture (called a secretary) that I used as the office component, the front of it folds down to make a desk top and it has four drawers below and a cabinet display shelf unit above.

First step: Painting the wall; this is the same color as my guest bathroom (I'll be posting about those DIY projects soon), it is a Behr color called Caribbean Coral.


Second step: Adding the trim; I added this chocolate, velvet trim that I bought at Joann Fabric. I ended up using white thumb tacks to hold it to the wall. I thought this worked out nicely, because it looks a little like upholstery tacks.


Final step: Decorating and accessorizing-my favorite part!:) I re-purposed these three Southern Living at Home trivets as wall art and used my small library of decorating books on the left side of the top of the secretary. I also used an antique apothecary jar, more books, and a hurricane candle holder to finish out decorating the top.

Here is the cabinet shelf unit. I forgot to take an upclose picture, but I taped scrapbook paper to the back that has a paisley pattern and a lot of the colors of my house in the design. My mom helped me get the items on the shelves arranged just right and I love the way it came it. I also used velcro to add push lights to the top to add some lighting down in this dark end of the hall and so you could see all the "pretties" better.


And here's the final product! Like I said when I was doing the master bedroom re-do, decorating is never "done" to me, but this at least is a great start and result up to this point!
Let me know what ya think, and also how have you incorporated an office into your house? Do you have a room or just a little space you would call a nook? Also, look for a post at the end of the week to see how I've re-vamped our back porch!

Friday, October 1, 2010

Project Rewind: DIY Project: Master Bedroom (Part 3-Finally!)

Originally posted on September 14, 2009:

So here is the final post about our master bedroom redo. It's taken me awhile to get the small details in place so that's why it's been so long coming. Of course, I still have a few ideas in mind to finish out in there, but all the main stuff is in place. I don't think a room is ever really "done". I'm constantly thinking of things to add or take away, but for the sake of having some closure on this project, I'm posting the "final" product!:) Hope you enjoy the tour of our redesigned room!


Welcome to the room! This is the view of what you see when you enter. You can see the horizontal stripes on the back wall; hung in the middle is one of our wedding pictures that I had printed by Shutterfly to a poster size. The frame that it is hanging in is one my grandad made awhile ago. You can also see the variety of bed pillows, which the majority of them I made by finding fabric and covering over old pillows (more on that in a minute). Another point of interest is the curtains. I'll tell you more about those in a sec too, but you're going to be amazed at what they are made out of!


Closer up view.


The two back pillows and the two square pillows towards the front are the ones I made. I simply found fabric at the United Textiles store in Bessemer (a great place for fabrics, rugs, window treatments, etc) on the the remnant table ($4.49/yd), measured my existing pillows, cut the fabric to size, and sewed them up on the machine! The green quilted pillow is another pillow covered over with a euro sham I found at Pottery Barn on clearance for $10 (originally $60 or $70!)! The monogrammed pillow was a wedding gift from my aunt and I found the round tufted pillow a couple of weeks ago at Ross Dress for Less on clearance for $7!


Closer view

Alright, now on to the curtains! These are not really curtains at all; they are painter's canvas drop cloths! My mom and I regularly check several decorating blogs and this was an idea we found on one of them (within the post, click on the hyperlinked "drop clothes" and you'll see even more detailed pictures along with Layla's inspiration). These drop cloths are from Lowe's for $9.99 a piece and measure 6ftX9ft! You simply can't find curtains this big for that price! They come hemmed so all you have to do when you get them home is wash and dry them and hang them up! Couldn't be simpler!


This shows how I hung them with curtain rod clips. This way, I did no sewing at all! I also hung them about 1ft higher than the top of the window to make the windows look longer.

Here they are going all the way down to the floor. The thing I love about this idea is the fact that they are so inexpensive, but really give a dramatic look. They are long and the canvas is textural and natural looking. They do only come in this standard canvas color, but you could always dye them, stencil a pattern or monogram on them, etc. Also, they can be dressed up by adding trim or fringe or a sheer curtain behind them. This makes them great for just about any room in your house. The possiblities are endless!
The right side of the room. You can see the shelf on the wall we talked about a couple of weeks ago, and the three pictures on the wall are actually black and whites of our hands. The top one is of our hands with our promise rings on, the second is one of my engagement ring, and the third are our hands at our wedding with our wedding bands! Just a fun way to remember those times in our lives as well as inexpensive wall art. The door goes into our bathroom which will be another DIY project post to come soon.


This is the left side of the room. You can see some frames I painted and also a cedar chest that I covered to make into a bench. I'll post before and after pictures of the frames later, but as for the cedar chest, this was an easy project. I just took some upholstery foam and batting, wrapped it over the top, stapled into place, and then covered it with this fabric that I also found at the United Textiles store for about $9 (another remnant piece). Stapled that into place and this project was finished.
Here's a closer view of the fabric (which I just love!) and also how the fabric folds in at the corners. This is the trickiest part of the project, but easy to figure out with some practice. And if you mess it up, just pull out the staple and try again!

Here's the wall opposite of the bed. The dresser with the candlesticks and two plates hanging in the corner. I'm wanting to replace the drawer pulls on the dresser, but am having trouble finding some. The measurement is 3 1/4 in, which most come in 3in. So if you find any 3 1/4in, let me know!

One last view. I do want to mention I found the runner at the foot of the bed on clearance at Ross Dress for Less for $15! I wanted something to anchor the bed and I think it also draws the brown out of the furniture to the floor.

Thanks for hanging in there to see this project to completion! I hope you enjoyed it and I'll keep you posted on some more DIYs to come! I already have a few in the works...